
A scarp quilt has been on my To-do list for long so when I received this book, Scrap Quilts-Fast and fun as a gift and turned to page 109, I was convinced on giving the ‘String Squares’ a go. As usual though, am not following the pattern in the book.

Let me write my own tutorial and add modifications to the design !!
Having recently returned from a paper piecing workshop, paper piecing seems the obvious choice 🙂
Quick Strip Quilt: Basic Block Template
———————————————————
All you need:
-A4 sheets
-School rulers(1″ and 1.5″)
-Pencil and eraser
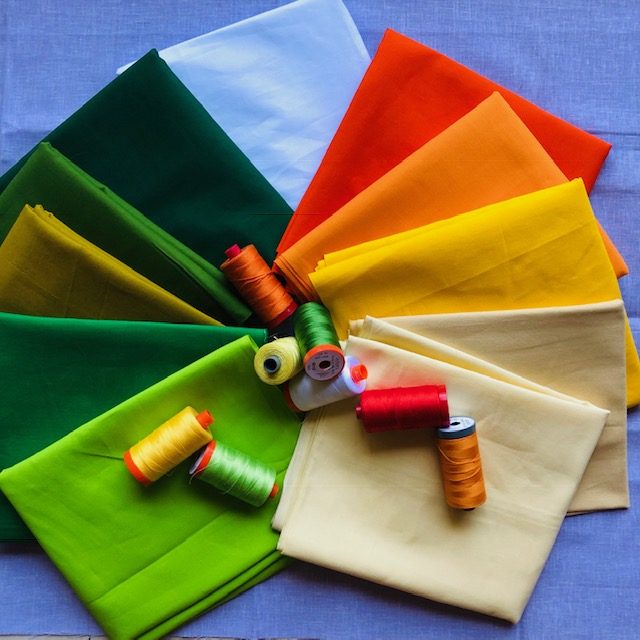
-Fabric scraps and leftovers
-Cutting mat and rotary cutter
Do note that the paper template and hence the block is 8″ when raw and 7.5″ when complete and sewed into a project. You can alter the size of the square and the width of the bands as per your need.
Preparing the paper templates
1. Take an A4 sheet and mark a square 8″ X8″ in size. I used a pencil so the marking is light.

2. Fold the square to mark the diagonal. Open and draw a line across the diagonal. this will be our guiding line. Place your 1.5″ width scale and align the center of the scale with the diagonal line as seen in the picture below, such that the center of the page has a 1″ width set of parallel line across the diagonal.

3.Continue to draw parallel lines such that:
The center pair is 1″ apart
then .5″ apart
then 1″ apart and so on until you reach either end of the paper (moving outwards from the diagonal). Please refer to image below for better clarity.

4. The center 1″ strip would be coloured and so will be each of the alternate strips(.5″). All white strips would be 1″ wide.

Trim the square and remove extra paper from all sides. Here I have coloured them for easy reference. Also, when you photocopy the coloured areas would look darker and hence easy for guidance and you wouldn’t confuse between white and coloured strips.
Once you are sure that the template is ready, make as many photocopies of it as required. You will sew on these paper templates and tear off the paper at the end .
Cutting fabric and sewing the Block
1.Take all your long scraps. I didn’t have much so I cut strips from my yardage.

2. Please note that when you cut your fabric, all white strips are to be cut 1.5″ in width. This is where your 1.5″ width student scale comes to use. It is not used during paper template process.
The center fabric is 1″ when completed , hence has to be cut at 1.5″ width. I chose a maroon tone for this.
All the other coloured fabric would be 1″ when cut(and hence 0.5 inch when completed).

3. Now take a paper template and place the printed side facing down. You basically just see a plain white sheet. Place the maroon along the diagonal and white on top, with right sides of both facing each other.
So, paper template facing down, maroon strip along the diagonal facing up and white strip facing down aligned on the maroon. Hold it against the light to ensure your fabric covers the center band.
Refer image below.

4.Pin the strips in place. Always pin on the seam away from you, not like seen below. Turn the paper and sew on one guided line.

5. Turn to the non printed side of the paper, remove the pins and nail press the seams open.You will have one printed and one white band side by side.This is the only strip you have to be really careful about.

6. Next, place a coloured fabric over the white fabric so that the other seam is aligned for both fabrics. Pin towards the inner seam. Turn and sew on the next guided line. You need not check it against the light but you can never be more careful, just do it as convenient.Turn to teh fabric side, remove pins and needle process. Continue like this until you reach the end of the paper with alternating coloured and white strips.

7. Iron the untrimmed square inside out. If your coloured strips are not all cotton, then ensure you set your iron to the setting for the fabric that has the lowest tolerance, else you might have some fabric crinkle up and burn.

8. Trim the square to size using your cutting mat and rotary cutter using the paper template as guide.

Prepare as many blocks you require and use them in various colourful projects ! I have a couple in mind…will soon post on them as well.

looks great. I have made quite a few string blocks using different techniques. This one seems easy to follow.
I love strip quilts and I really like the way you added the white!
Your string block looks fantastic! Thanks so much for sharing the tutorial!
Great idea! I’ve been seeing these around. I’ll have to give them a go!
I like the way this string block turned out. Thanks for the great tutorial.
Looks very nice.
I would like to know where do you buy your fabrics from? Are there any online websites from which i can buy fabrics for sewing in India?
Thanks.
Jaya,
I source it from local fabric shops and some I get from other quilters. You can join the India Quilt Guild on facebook and the girls will guide you. Do reach out to me if you are unable to do so and need help on sourcing fabric.
regards